Close

Under the Sea in 3-D
Lesson Plan, Grades 1-12, Art, Science, Crayola, Sax
Description
3-D technology takes this art and science color theory lesson to amazing depths. Through manipulation and juxtaposition of color, a 2-D piece of artwork is transformed into sea creatures that seem to swim above the surface of the paper in another dimension, when viewed with 3-D glasses. This lesson correlates with science, not only in subject matter, but also in experiencing how the eye perceives and processes color wavelengths in this optical illusion. The process will only work with binocular vision, or both eyes, and will not work with red and blue lens 3-D glasses.
Objectives
- Students will become aware of underwater life forms by studying and then drawing them in an underwater habitat.
- Students will learn very basic 3-D color theory to create artwork that will respond in 3-D when viewed through 3-D glasses.
Supplies Needed
Crayola® Color Sticks, Woodless Pencils, 24-color Set 1290583
Sax® Colored Art Paper, Ultramarine Blue, 12x18, 50-pk 402020
Sax® 3-D Glasses, 10-pk 406322
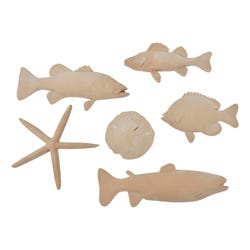
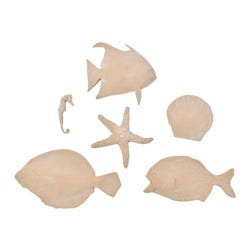
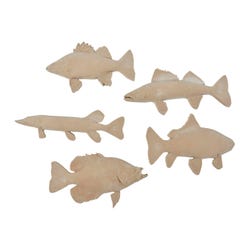
Possible Drawing Models: Gyotaku Fish Print Models, Original Set 412081
Tropical Set 412083
North American Set 412084
Game Fish Set 412082
Standards
CONTENT Standard #1: Understanding and applying media, techniques and processes.
CONTENT Standard #6: Making connections between visual arts and other disciplines.
Instructions
1
Explore underwater sea life by viewing an aquarium or pictures from the school library, periodicals, online sources, Gyotaku Fish Print Models, etc.
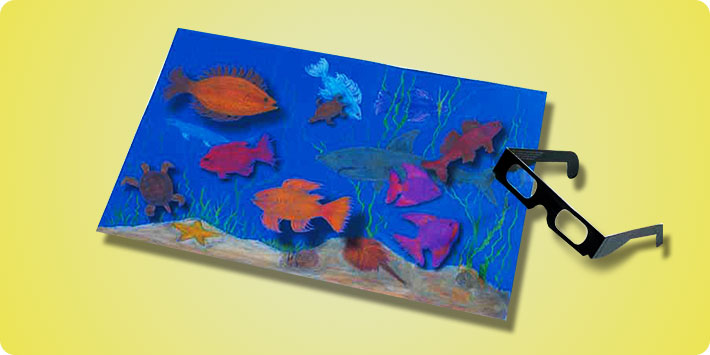
2
To introduce 3-D imagery, try using 3-D glasses on the sea life scene in the above image to get a rough idea of what to expect.
3
Using a #2 pencil, lightly sketch a realistic or imaginary underwater scene.
4
Follow the basic rules for beginning 3-D color theory as it applies to this lesson. Other subject matter or abstract art also works well using this process with Crayola® Color Sticks Woodless Pencils.
5
The Crayola® Color Sticks will roughly appear, closest to farthest when using 3-D glasses on blue paper, in this order: red, red-orange, magenta, orange, yellow-orange, pink, mahogany, brown, light brown, tan, golden-yellow, yellow, peach, white, gray, jade-green, yellow-green, green, aqua- green, violet, sky-blue, light-blue, blue and black. The Color Stick names are found on the side panel of the box. Generally, you will find that warm colors will advance and cool colors will recede. If the sea creatures are colored in warm colors, they should appear to float over the paper. If cool colors are used they will appear distant. Green seaweed should fall into the mid-ground and the blue of the paper should recede into the distance. Be careful when overlapping objects, because it will change the depth of the closer color, rather than floating over the blue paper. Also, the closer color must be on top of the farther color. Overlapping is not recommended at the elementary level.
6
Color each object using the colors that will allow the desired closeness or depth. Solid, intense areas of color work best. Vinyl erasers can be used for small mistakes with some of the colors. It is helpful to make a chart on a strip of blue paper, coloring a patch of each color in sequence of closest to farthest. Students could also test colors on a scrap of the blue paper and view with 3-D glasses to assist in depth prediction. It is also recommended to arrange the Color Sticks in their trays in a closest to farthest sequence.
7
View colors in adequate light for optimum effects.
Special Education Student Adaptation Tips:
Safety Tips:
Variations:
This process will also work with different subject matter including abstract areas of color or other background colors. In theory, using a warm color of paper and cool colored objects should cause the objects to recede and the paper to appear forward. Always test your colors on a scrap of paper and then view with the 3-D glasses to confirm 3-D placement, because the rules don?t always apply in every situation.