Pearl-It, Glitter-It Butterfly

Description
Let your imagination take flight! Create butterflies that will shine and sparkle with the glitz of Crayola®'s mediums. Using real butterflies as a springboard, this lesson plan could be correlated with a science unit.
Objectives
- Students will research butterflies from various continents, observing wing shape and designs.
- Students will create their own imaginary butterfly.
- Students will explore possibilities and techniques using mediums with watercolors.
Supplies Needed
Crayola® Tempera Mixing Mediums Set of 3
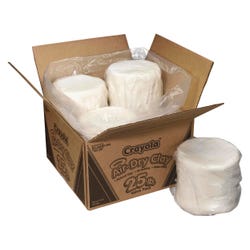
Crayola® Air Dry Clay, 25-Lb. Value Pack
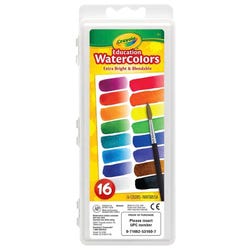
Crayola® Semi-Moist Oval Watercolors, Set of 16
Crayola® No Run Washable School Glue, 4-Oz.
Sax® Economy Watercolor Paper, 140-Lb., 50-Sheet Pkg., 18" x 24"
Galvanized Soft Annealed Stovepipe Wire, 50-Ft. Coil or School Smart® Economy Chenille Stems, 6"
Scotch® Masking Tape, 3/4" x 60-Yds.
Tube from paper towels
Standards
CONTENT Standard #1:
Understanding and applying media, techniques and processes.
CONTENT Standard #6:
Making connections between visual arts and other disciplines.
Instructions
1
Research butterflies, observing wing shapes and designs.
2
Cut watercolor paper to 12" x 18".
3
Fold a 12" x 18" sheet of watercolor paper in half.
4
Draw a wing shape for a butterfly, with the inner edge of the wing about 1/4" away from the fold. Draw a tab that connects the inner edge of the wing to the fold.
5
With the paper still folded, cut out wings, leaving the tab to attach the wings to one another. It will eventually be covered by the clay body.
6
Paint the wings with watercolors, using the Crayola Pearl-It Medium instead of water. Allow to dry.
7
Using Crayola Glitter-It Medium, embellish the wings by adding designs consisting of lines and shapes. Again allow to dry.
8
Create a body, sculpting with Crayola Air Dry Clay and form antennas using wire or chenille stems pushed into the clay.
9
Once the butterfly body has dried, decorate using Crayola Mediums alone or with watercolors.
10
Cut paper tube in half length-wise and press to flatten. These pieces of the tube will serve as "armatures" to give the wings dimension.
11
Cut the flattened tube armatures to the desired length.
12
Adhere the armatures with masking tape onto the back of each wing. Apply tape on all four sides of the cut tube, shaping the wings to the desired fullness.
13
Glue body to the tab between the wings.


