Molas

Description
Authentic Molas are brightly colored pieces of intricately appliqued cloth made by the Kuna Indians on the islands off the east coast of Panama. The Kunas originally resided in the Panama/Columbia area for centuries. Later, they migrated to the San Blas Islands and began to trade with the Europeans on passing ships. They were introduced by German travelers to brightly colored cloth and thread. The first Molas began to appear in the late 1800s. Now Kuna women, starting at an early age, sew as much as they can between the chores of their daily life. Molas are sold all over the world. This lesson introduces student to the bright colors and abstracted designs of traditional Molas using drawing with markers and cutting and pasting colored papers.
Objectives
- Students will learn about the history and characteristics of Molas.
- Students will create a Mola design that reflects their understanding of that art form, selecting appropriate subject matter and design qualities.
Supplies Needed
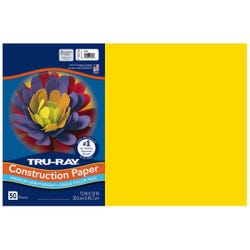
Tru-Ray Construction Paper, 50-Sheet Pkgs., 12 x 18:
Black 054150
Red 054153
Yellow 054069
Blue 054129
Extra-White Sulphite Drawing Paper, 80-Lb., Ream, 9 x 12 053943
Fadeless All-Purpose Art Paper Assortment, 12 x 18, 60 Sheets 006093
Mr. Sketch Unscented Markers (Chisel Tips), 12-Color Regular Set 408989
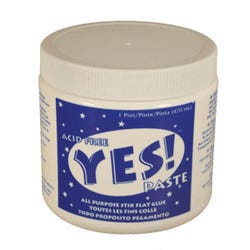
Yes! Paste Glue 401632
Mola Patterns
Scissors
Pencil
Optional Resources:
Dynamic Art Projects for Children, Book by Denise Logan
Standards
CONTENT Standard #2: Using knowledge of structures and functions. Grades 5-8: Students will select and use the qualities of structures and functions of art to improve communication of their ideas.
CONTENT Standard #4: Understanding the visual arts in relation to history and cultures. Grades 5-8: Students will know and compare the characteristics of artwork in various eras and cultures."
Instructions
1
Show and discuss the history of Molas. Show students examples of Mola designs. See Dynamic Art Lessons for Children, the internet or books from the library.
2
Using the examples for ideas, draw one large animal, plant or geometric Mola shape on the 9 x 12 white sulphite paper in pencil.
3
Color 2-3 bands of color around the object. Use a chisel-tip marker on its broad side to outline the object. Outline again with a second color.
4
Use the markers to color in the Mola with brightly colored patterns.
5
Cut out the Mola.
6
Apply Yes! Paste to the back of the design with a scrap cardboard squeegee.
7
Attach the Mola to a contrasting color of construction paper.
8
Cut strips of paper (on a paper cutter, if possible). Lay the strips where they will be attached and cut them to fit. See example.
9
Glue the paper strips to the Mola using the Yes! Paste and a cardboard squeegee.


