Close

Mexican Tin Foil Relief
Lesson Plan, Grades 5-12, Multi-Cultural, Art, Sax

Description
This project is based on historical references to tin relief done in Mexico over the last several centuries. It could also be adapted using other historical references including Haitian metal relief, Africa masks, Middle Eastern relief works and many others. The project can be done at many levels, from mid-elementary through high school, depending on size, detail and intricacies. The finished pieces can be presented as jewelry, decorative tiles or framed art works.
Objectives
- Students will demonstrate knowledge of the styles and functions of tin relief work from at least one historical reference by creating a tin relief, reflecting the historical reference in some way.
- Students will demonstrate knowledge of the principles of balance and repetition by using them in their designs.
- Students will demonstrate knowledge about the materials used in this project by creating a well-crafted tin relief.
Supplies Needed
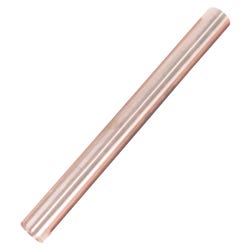
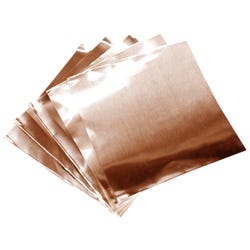
Colored Aluminum Foil Rolls 25-Ft. x 12", 38-Gauge:
Coppertone (9-409987-705)
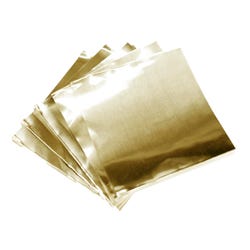
Goldtone (9-459173-705)
Precut Decorator Foil Squares. 5" x 5", 38-Gauge, Pkgs. of 12:
Coppertone (9-578783-705)
Goldtone (9-578786-705)
Maple Spindles (9-447866-705)
Stylus Sticks, Pkg. of 100 (9-085949-705)
Sharpie® Fine-Tip Markers, 12-Color Set (9-067115-705)
Crayola® Gel FX Washable Markers, 8-Color Set (9-067569-705)
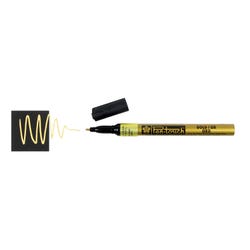
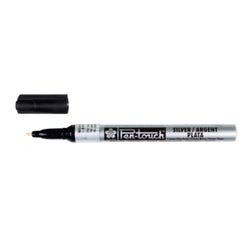
Sakura PenTouch Markers:
Silver, Fine Point (9-459020-705)
Gold, Fine Point (9-459023-705)
White, Fine Point (9-227628-705)
Optional:
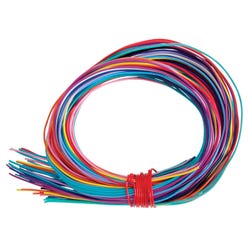
Twisteeze Craft Wire, 30" Lengths, 200-Piece Pkg., 500-Ft. (9-427507-705)
Decorative Wire Assortment 26-Gauge, 30-Yd., 12 Spools 10-Color Set (9-248267-705)
School Smart® Paper Punch (9-039423-705)
Assorted Indian Glass Beads, 1/2-Lb. Pkg. (9-446186-705)
See Sax Catalog for more bead choices.
Standards
CONTENT Standard #1:
Understanding and applying media, techniques and processes.
CONTENT Standard #2:
Using knowledge of structures and functions.
CONTENT Standard #5:
Reflecting upon and assessing the characteristics and merits of their work and the work of others.
Instructions
Suggestions for Assessment:
Display student work. Have students comment on similarities and differences between various student works and the historical references used. Also discuss balance and repetition and how they enhance the various student works. Grade projects according to a rubric that lists all requirements given at the beginning of the project.
1
Examine an insect. How big is the abdomen and thorax? How many legs does it have? What shape are the wings? Make a small drawing as a guide.
2
Begin with the chenille stems. Cut each length with a scissors. It may be easiest to cut a stem the entire length of the insect and add elements to that piece.
3
Wind chenille stems around the main length to create any size part of the bug. Use the same color or choose a different color for each body part.
4
Glue on feathers as wings. Simply cut to size and stick the end into the wound chenille stem.
5
Glue on wiggle eyes or beads.
6
If antennae are needed, they will stick out best if the wire is embedded or wound into the chenille stems at the head. Use Wire-Art Wire for delicately shaped antennae.
7
Try these ideas:
- Use peacock eye feathers or guinea hen feathers for exotic butterflies and moths.
- Create huge bugs with Colossal Stems (9-085881-705) and Solid 12" Feathers (9-086302-705)