Close

Matisse Cut-Outs in Book Form
Lesson Plan, Grades 6-12, Art History, Math, Sax, Collage
Description
Lesson Plan and Artwork by Annette Johnson
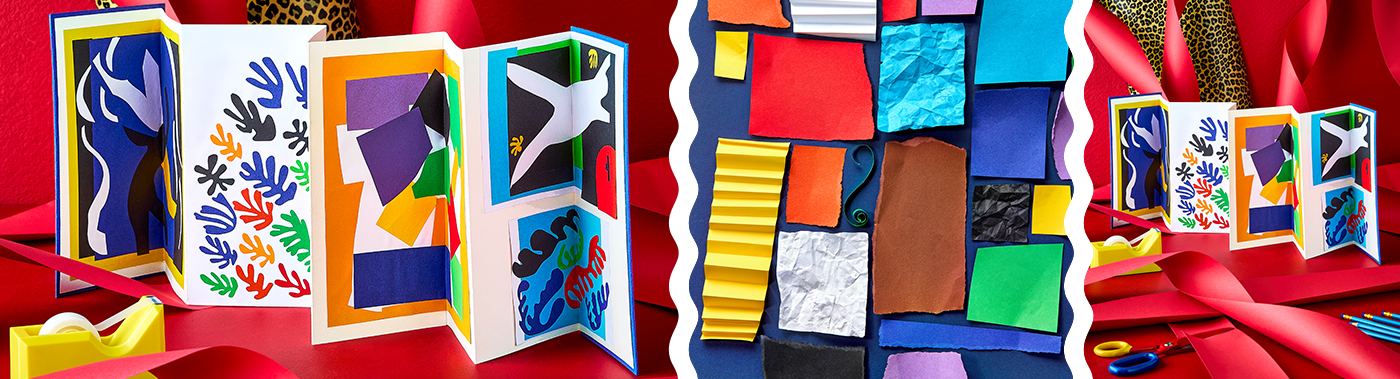
In this lesson plan, students will study Matisse’s artwork, particularly his Cut-Outs created during the last period of his life. They will use these Cut-Out artworks as inspiration for original art, and/or reproduce them to better understand and appreciate how they were created. Using simple tools—scissors, Sax® Colored Art Paper and glue—they will create an accordion book, filled with artwork based on the Cut-Outs.
Objectives
- Study Matisse’s artwork and discuss his use of color.
- Recreate artworks based on Matisse’s Cut-Outs.
- Create an accordion book with eight 5" x 10" panels and a 5¼" x 10¼" cover.
- Create 4 pieces of art for the inside panels, using two 5" x 10" panels for each image.
Supplies Needed
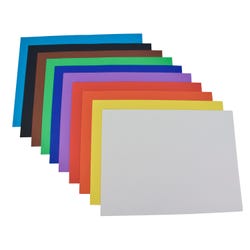
Sax® Colored Art Paper, 12" X 18", Assorted Colors, 50 Sheets
Sax® Colored Art Paper, 12" X 18", Yellow Orange, 50 Sheets
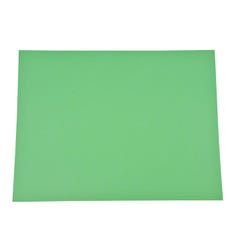
Sax® Colored Art Paper, 12" x 18", Yellow Green, 50 Sheets
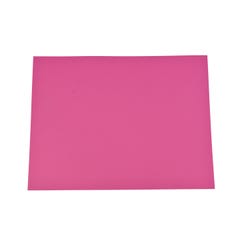
Sax® Colored Art Paper, 12" x 18", Hot Pink, 50 Sheets
Sax® Colored Art Paper, 12" x 18", Dark Violet, 50 Sheets
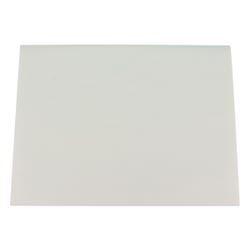
Sax® Watercolor Paper, 18" x 24", Natural White, 50 Sheets
Wax Paper, 1 x 75 ft, 1 Roll
UHU® Glue Stic, 1.41 oz.
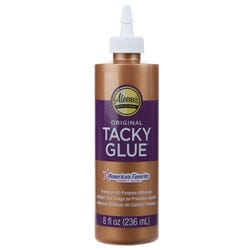
Aleene’s Original Tacky Glue, 8 oz, Dries Clear
Magic Tape in Dispenser, ¾" x 300", Matte Clear, Pack of 3
Fiskars® Softgrip Micro-Tip Scissors, 5"
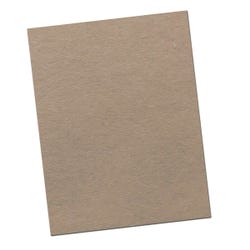
School Smart® Multi-Purpose Chipboard, 19" x 26", Gray, Pack of 10
Sax® Sketch and Trace Paper, 25 lbs, 9" x 12", White, Pack of 500
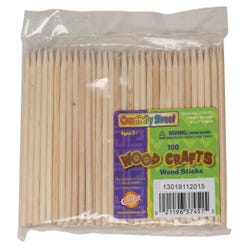
Creativity Street® Wood Multi-Purpose Stylus Stick, Pack of 100
*Here are the supplies needed for this lesson plan for reference. Find a convenient carousel of shoppable products for this lesson below.
Standards
Standard #1: Generate and conceptualize artistic ideas and work.
Standard #3: Refine and complete artistic work.
Instructions
Cover
1
Using chipboard, cut two pieces 5¼" x 10¼".
2
Select one or two colors of Sax Colored Art Paper. Cut 2 pieces 6¼" x 11¼".
3
Center a board on top of the colored art paper, trace it with pencil, remove the board, and extend the pencil lines to the edges of the paper.
4
Cut out the four ½" squares of each corner.
5
Measure in ½" from the corners and make a mark on the edge of the paper. Cut diagonally from the mark to the corner of the removed square, creating a 45-degree angle. Repeat for 4 corners.
6
Using a glue stick, glue one entire side of a chipboard cover. Glue side down, center it on one of the cover papers. Glue both long sides of the paper. Fold and rub. Then repeat with short ends. Repeat with a second cover board and paper.
7
Place wax paper between boards. Weight them with a book press or heavy books (dry overnight is best) and set aside.
Accordion Strip
8
The completed strip size for this book is 10" x 40". It will require piecing sections together.
9
Using Sax Watercolor Paper, cut 2 strips 10" x 15½" and one strip 10" x 10".
10
Holding the 10" x 15½" paper horizontally, mark both the top and bottom at 5" intervals. Align a ruler on both marks, score the paper with a wooden stylus, then fold the paper toward the ruler. Remove ruler and repeat for each 5" x 10" panel. This leaves a ½" glue tab at one end. Reinforce the folds using a burnisher (or your fingers) to set the crease. Repeat for a second 10" x 15½" strip.
11
Holding the 10" x 10" paper, mark both the top and bottom of square at 5". Place a ruler at both marks, score the paper with a wooden stylus, then fold the paper toward the ruler. Remove ruler and set the crease with a burnisher.
12
Place one 15½" section with the ½" glue tab to your right. Place the 10" folded square next to this section so that it looks like a mountain. Position the final 15½" section with ½" tab to the left.
13
Glue the first tab and attach the left side of the folded square on top of it. Glue the second glue tab and place the right side of the fold square on top of it. The completed accordion strip contains 8 panels 5" x 10" for a total length of 40".
14
Place wax paper over the glued sections, collapse, place under a weight, and set aside to dry.
Creating Artwork
15
Using a copier, enlarge 5 pieces of artwork to complete for book. The cover artwork will be about 4¾" x 9¾". Each piece of artwork for the interior pages will cover two panels and will be about 9½" square or a similar rectangular size.
16
Select colors represented in the artwork using Sax Colored Art Papers. Choose colors that closely resemble each shape.
17
Once Matisse Cut-Out artwork is enlarged, tape a piece of tracing paper on top of it. Using a pencil, trace each element of the design. Do not miss any of the elements even if they are the same color—it might be a separate piece of paper. Complete this for each piece of artwork.
18
Number each of the shapes that have been traced. Use corresponding numbers on the cut-out shapes. This is the master, so leave it intact.
19
Using smaller additional pieces of tracing paper, cover each shape and trace individually. Cut these out with a ¼" inch border. Make sure to number them.
20
Using 810 tape, tape these to the appropriate Sax Colored Art Paper.
21
Make sure all elements are traced, numbered, and taped to the correct color of paper. Now cut them out using the line that was traced as the cutting line. Keep the tracing paper on top of the cut-out shape.
22
Study the image being reproduced to determine what shapes and colors are on the bottom layer. Place these down first and study the remaining shapes, making sure to layer them correctly.
23
Glue in place when all shapes are in the correct placement.
Assemble
24
Assemble cover art on a base piece of paper 4¾" x 9¾". Choose a color that closely matches the base layer of the image chosen.
25
Glue the elements onto this base by color and shape. Start with the elements closest to the bottom of the artwork. Continue building the shapes up by layer until the top layer.
26
Glue artwork to the cover board. Cover with wax paper and weigh down overnight until dry.
27
Continue with the interior artwork. Cut a piece of colored art paper 9½" to 10" square for each image. As each image is completed, glue pieces in place under a weight until dry. When finished, mark the top and bottom at 5". Align a ruler on both marks, score the paper with a wooden stylus using gentle pressure, then fold the paper toward the ruler. Remove the ruler and repeat for each 5" x 10" panel.
28
Glue each piece of artwork into the interior folds of the book. Insert wax paper inside each fold to prevent glue from marring the artwork. Place under a weight overnight until dry. The book is now complete!