Jewelry Explorations

Description
Jewelry adornment as a form of individual expression is universal; it is the extension of the human hand and mind. It's intricate, personal and often a social statement of our everyday life. Decorative Art-Jewelry has become part of our "way of life." Students will create two pieces of jewelry simultaneously, exploring two innovative processes, augmented by aesthetic judgment.
Objectives
- Students will study the 1930's Owattona Project and explore the concept that art and design could pervade our everyday life.
- Students will discuss various historical elements of jewelry as decoration, body adornment, being mystical, inspirational, or a sign of wealth and influence.
Supplies Needed
Amaco® Craft Oven
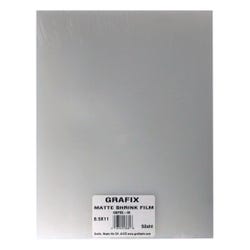
Shrinky Dinks®Shrinkable Plastic
Bisquettes Ceramic Medallion Assortment
Sax® Bisque Beads Classroom Assortment
Sax® Tempera Varnish
Pin Backs
Jump rings
Hemp Cord
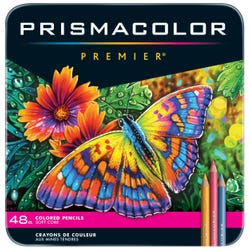
Prismacolor PremiumColored Pencils, 48-Color Set
Standards
Standard #1: Understanding and applying media,techniques and processes.
Standard #4: Understanding the visual arts in relation to history and cultures.
Instructions
1
Explain and demonstrate the various materials and equipment being used. Allows students to experiment different types of color pencils and drawing techniques. Study the effect of Shrink Art, heating and oven-safety precautions.
Shrink Art Masterpieces Directions
2
Cut shrink plastic into approximately 4"x 5" pieces.
3
Draw directly onto shrinkable plastic.
4
Pre-heat Craft/Toaster Oven to 325°. Note: apply aluminum foil over wire rack to prevent shrinkable plastic masterpieces from falling through wire rack. Adult supervision required.
5
Bake from 1-3 minutes until sheet is shrunk flat and 1/3 its original size. Note: If piece is to be worn as a pendant use 1" punch hold prior to heating.
6
Remove and cool. Attach pin back for pin or jump ring and cord for necklace. Note: For more exhibit-finished look, adhere to cut piece of Crescent® "All Black" mounting board prior to attaching pin back.
Ceramic Bisque Gems Directions
7
Distribute the ceramic bisque pieces and colored pencils.
8
Draw directly on the ceramic pieces.
9
Apply Sax® Tempera Varnish over bisque piece. Let dry.
10
Attach jump ring and cord for necklace.


