Close

Fluttering Feathers
Lesson Plan, Grades 6-12, Art History, Math, Science, Speedball, Adapted, Printmaking
Description
Lesson Plan and Artwork by Sue Loesl
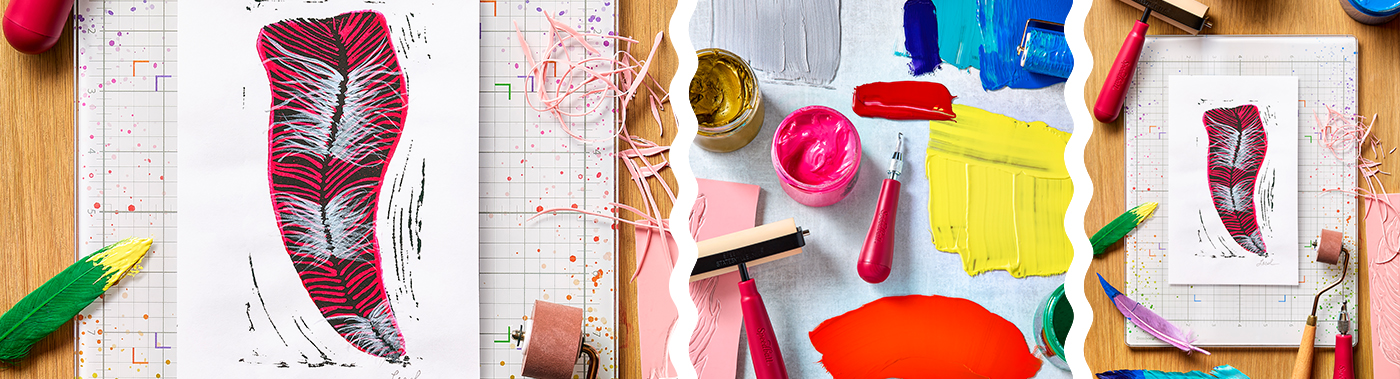
Reduction block printing is a printing technique utilized by Pablo Picasso and a number of contemporary artists. It is a challenging and exciting process, in that the layers of color are prepared by recutting the same print block (Speedball® Speedy-Carve Block) after each printing, creating a special series of prints that cannot be reprinted. In this adapted lesson plan, students will create a unique feather design using the reduction print technique.
Objectives
- Understand historical and contemporary print artists and the process of reduction block printing.
- Design a unique feather image to print using the reduction block printing process.
- Demonstrate cutting with Linozip pull-type blades and printing with a Speedball Speedy Carve block, using adaptive strategies.
Supplies Needed
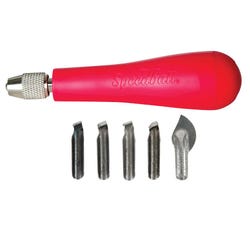
Things You May Also Need:Speedball® Linozip Cutter, Number 37 Assortment, Set of 6
Speedball® Soft Rubber Brayer with Plastic Handle, 4"
Speedball® Speedy-Carve Block, 9" x 11¾"
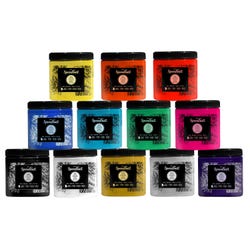
Speedball® Water-Soluble Block Printing Ink, Set of 12
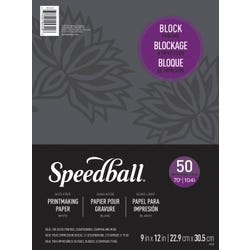
Speedball® Block Printing Paper, 9" x 12", 70 lb, 100 Sheets
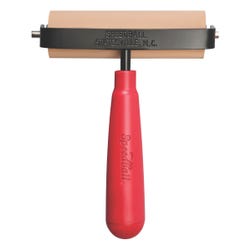
Speedball® Red Baron™ Block Printing Baren, 4"
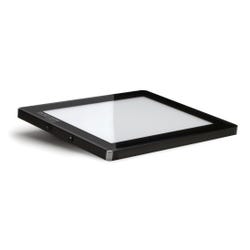
Porta-Trace® LED Light Panel with Black Frame, 9" x 12"
Clean-Release Blue Painters Tape, 1-7/8" X 60 yd
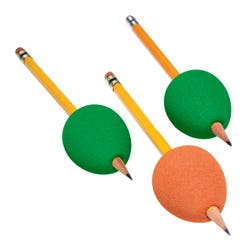
Abilitations® Egg-Ohs! Handwriting Grips, Set of 3
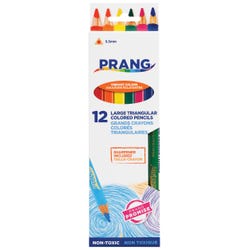
Prang® Large Triangular Colored Pencils, Assorted Colors, Set of 12
Sax® Multi-Purpose Drawing Paper, White, 60 lb, 12" x 18", 100 Sheets
*Here are the supplies needed for this lesson plan for reference. Find a convenient carousel of shoppable products for this lesson below.
3"x 3" square cut into two “L” shapes from box cardboard
Aluminum baking sheets, 7" x 9"
Styrofoam trays
Box cardboard
Small paintbrush
Standards
Standard #1: Generate and conceptualize artistic ideas and work.
Standard #2: Organize and develop artistic ideas and work.
Standard #4: Analyze, interpret, and select artistic work for presentation.
Instructions
1
Present reduction print artists and their processes through discussion and online videos.
2
Demonstrate the process of reduction prints through hands on experiences with students. Linozip pull-type cutters are not traditional push blades, and students will need to learn safe techniques. Practice using various blades on scrap pieces of Speedy-Carve taped to the table versus using bench hooks, as the motion is down and across versus away and up. The student’s hand holding the block should be behind the blade. Students may need practice with hand-over-hand support the first few cuts. To keep the block steady or if a better “stop” is needed at the edges of the block, tape the block into a small 9" x 7" baking sheet or styrofoam tray and tape the tray to a table. Although Speedy-Carve is a soft material, using a slantboard may bring the worksurface closer to the student to enable more pressure for cutting.
3
Explore real feathers and images of feathers, noticing how vanes and after-feathers line up next to each other and how the feathers’ parts are colored. Repetitive straight or curved lines in such a design theme can be easier to cut for some students.
4
Direct students to draw a 3"W x 6"H rectangle on white paper and draw a ½" line within the rectangle edge. Creatively draw a feather with a pencil within the inner rectangle. Using colored pencils, redraw or trace the feather design with at least three colors. A light panel can assist in tracing designs. Remind students the design will be reversed when printed. The slantboard may be an easier worksurface, and large triangular colored pencils or Egg-Ohs! grips can help students with grip challenges to draw. Assist students to determine the sequence layering of the colors for printing. For the first color, a flat background print color using the whole block or a smaller shape may be considered.
5
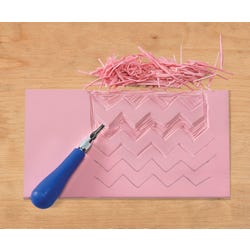
Rub dark pencil on the back of the colored drawing. Tape the drawing to the 3" x 6" piece of Speedy-Carve block, tracing over with a pencil the area that is to be cut away for the first color. The block may also need to be taped to the table for ease in steady tracing. Check design for clarity and add darker lines with a permanent marker. Centering the cutter on the marker line will guide the student to know where to cut, as the cutter is thicker than a pencil line.
6
Direct students to tape their block with the feather design upside down, as it will simplify the pull cutting following the shape of the feather vanes. Review support and cutting strategies used with individual students during practice. Cut the first print areas.
7
Draw a large arrow pointing to the top of the design on the back of the block, and a vertical line in the middle of each side edge of the block, with a permanent marker. Cut two to four L-shaped corners (see drawing) from box cardboard for registration support.
8
When the block is ready, prepare the printing area. Gather block print paper, brayer, inks, cardboard corners, plus the baking sheet used earlier or other inking plate surface. Trace lightly with a pencil around the dry block (arrow side up) onto at least 10–12 print papers because of potential registration issues, and lightly mark papers using all the vertical lines on the block edges. Prepare ink with brayer on baking sheet until it sounds “sticky” and practice print on white paper. If OK, print the prepared papers, turn over and rub with a baren, gently pull print off block, let dry, and print all at the same time. The ink will dry to the touch overnight, but wait until completely dry to print again. Wash all printing materials well with soap and water and let dry.
9
Using the colored drawing, trace the next areas to print on the block. Cut out all areas on the block that will not be new color and the next color(s). Practice print. Print on top of first print by placing the arrow up, and lining up the vertical marks and the pencil line around the block. For additional registration, take the dry block and use painter’s tape to gently tape two cardboard “L” corners on the outside bottom left and top right of the pencil line. Hand-over-hand assistance may be needed for placement of the block on the print. Peel off corners before turning over to rub. Print all of the first prints with the new color. Fix errors or embellish with print ink and a small paint brush. Let dry.
10
Continue the process of tracing, cutting, and printing for the rest of the printing colors.
11
To finish, sign and number each of the finished pieces.