Close

Doin' What Comes Naturally!
Lesson Plan, Grades 4-12, Art History, Science, Mayco, Ceramics & Sculptures
Description
Lesson Plan and Artwork by Jack Matthews
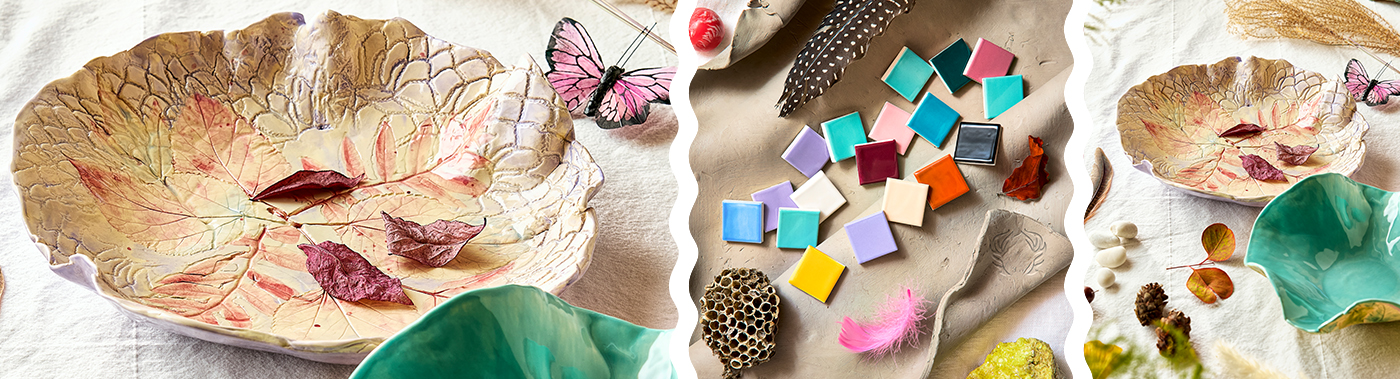
Ahhh, nature! We can make connections beginning with the soil, or clay in this instance. Dating back to prehistoric times, pottery has been a basic utilitarian art form. This lesson makes even more of a connection with nature, celebrating those things we find in nature and using them to make a vessel that is “earthly” in its appearance.
Objectives
- Understand the structure of clay and how it can become a utilitarian object as well as an art form.
- Study and make connections with things found in nature in order to utilize them in the student’s own art piece.
- Utilize basic skills in creating a vessel or bowl that involves texture and specifically represents details of nature.
Supplies Needed
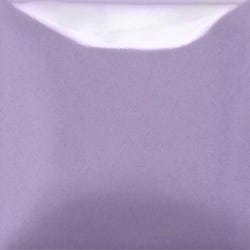
Things You May Also Need:Mayco® Stroke & Coat Wonderglaze, Lavendear SC-103, Pint
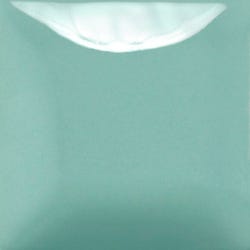
Mayco® Stroke & Coat, Spruce It Up SC-101, Pint
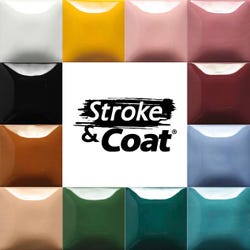
Mayco® Stroke & Coat Wonderglaze Glaze Set B, 2 oz, Set of 12
Sax® Low Fire Earthenware Clay, White, 50 lbs
Royal & Langnickel® Clear Choice Natural Ceramic Brushes, Set of 24
*Here are the supplies needed for this lesson plan for reference. Find a convenient carousel of shoppable products for this lesson below.
Rolling Pins
Canvas Sheets
Newspaper
Tag Board
Sponge
Water Containers
Plastic bowls
Standards
Standard #1: Generate and conceptualize artistic ideas and work.
Standard #2: Organize and develop artistic ideas and work.
Standard #11: Relate artistic ideas and works with societal, cultural and historical context to deepen understanding.
Instructions
1
Discuss aspects of the prehistoric age, the function and appearance of clay objects, as well as the process of transitioning a lump of clay to a fired, useful ceramic piece.
2
Have students list things they can find in nature and then go on a scavenger hunt to find many of the items.
3
Give students a ball of clay sized about a pound or more.
4
Show students various ways of spreading out clay by throwing and rolling processes. NOTE: Do not worry about uneven or rough edges. This will help to make it look more natural and “born of the earth.”
5
Using the various scavenger items found, students will place objects onto the clay slab and then carefully roll them into the clay to create a textured imprint. Items can be removed at this time or during the next lesson. NOTE: If you desire a base that is free of texture, cut a circle approximately 3–4" in diameter from tag or poster board. Place approximately in the center before laying on objects. ADVANCED GROUPS: Students can make a choice of placing texture inside or outside the vessel, OR carefully create textured surfaces on both sides of the clay.
6
Using a form (round or oval bowl, or shaped and bound paper to create a form), students will lay (slump) the slab over the form with the textured surface showing. NOTE: If using a bowl, turn the bowl upside down and lay paper towels or plastic wrap over it. Flatten the bottom (if using the circle, center it over the bowl/form). The bowl will NOT have the conventional straight rim around it. Allow it to be a free-formed edge of highs and lows. Allow it to dry completely with a bag covering it.
7
In the next lesson, clean up the clay and smooth out any dangerously rough edges. Allow to dry, then fire according to manufacturer’s specifications.
8
Time to glaze and bring color to nature! Mayco® Stroke & Coat Glazes come in a wide range of colors, yet are also intermixable so students can create their own shades. Starting with the details, using Mayco Stroke & Coat glazes, students may paint individual leaves or impressions using thinned glazes to create a “wash.” If traditionally glazing, a technique of “wiping” with a damp sponge may be applied at this time to allow more of the textured surface to show through, but it is not necessary. Be sure to fill all crevasses. Do NOT glaze the bottom of the bowl. If glaze gets on the bottom, use a sponge and clear water to clean it off.
9
When details are dried, students may create their own, or choose colors of Mayco Stroke & Coat and glaze the inside of the bowl following package directions. One coat will create a translucent finish & 2–3 will be opaque. It is important to let the glaze dry between coats. When applying, Mayco Stroke & Coat glazes can be laid next to each other, or over, and no moving or blending of the colors will occur as you might find with other glazes.
10
Optional: Mayco Stroke & Coat glazes will fire gloss, but if a high shine is desired a clear glaze may be applied on top. A clear glaze is also recommended if only washes were used on the outside of the bowl.