Close

A Perfect Match
Lesson Plan, Grades 6-12, History, Science, Social Studies, Crescent, Mixed Media, Drawing
Description
Lesson Plan and Artwork by Franz Spohn
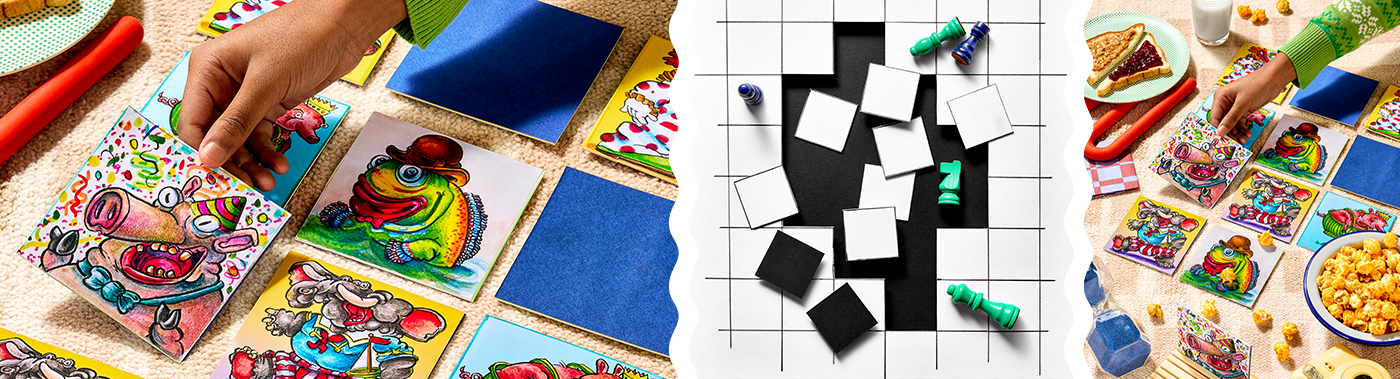
In this project, students will design images on tiles to be used in a version of a favorite childhood activity, a match/memory game. A set of original images will be created using pencils and markers on Crescent® 215 Hot Press Illustration Board. When this phase is completed, the images will be duplicated to create a second tile. These images can be grouped in themes such as historical figures, species of butterflies, farm animals, landmarks, or simply a fun collection of interesting characters.
Objectives
- Study the field of illustration and graphic design.
- Create a list of appropriate images based on a selected theme.
- Design and create tiles using copying techniques for the initial “roughs” and then refine to finished work with markers and pencils.
Supplies Needed
Things You May Also Need:Crescent® No. 215 Hot Press Illustration Board, White, 16" x 20", Pack of 5
Crescent® Ultra Black Mounting Board, 16" x 20", Pack of 10
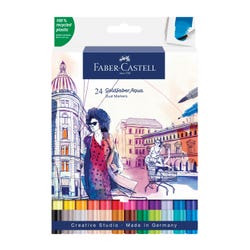
Faber-Castell® Goldfaber Aqua Markers, Dual Ended, Set of 24
Faber-Castell® Goldfaber Colored Pencils, Set of 36
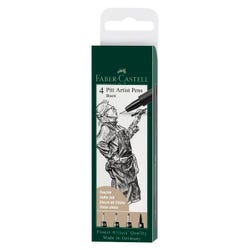
Faber-Castell® PITT Artist Pens, Assorted Tip, Set of 4
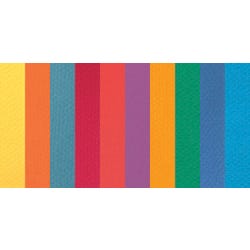
Drawing Sheets, Assorted Bright Colors, 19" x 25", 10 Sheets
Yes! Paste Non-Toxic Water Based Glue, 16 oz Jar
Drawing Sheets, Assorted Bright Colors, 19" x 25", 10 Sheets
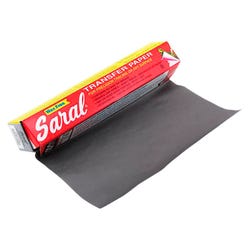
Saral® Wax-free Graphite Transfer Paper, 12½" x 12"
*Here are the supplies needed for this lesson plan for reference. Find a convenient carousel of shoppable products for this lesson below.
Graphite pencil
Utility knife
Tracing paper
Metal yardstick
Eraser
Standards
Standard #1: Generate and conceptualize artistic ideas and work.
Standard #2: Organize and develop artistic ideas and work.
Standard #3: Refine and complete artistic work.
Instructions
Select a theme for the game. It can be a theme based in history, literature, biology, or a selection of personal favorite characters just for the fun of it! Once the theme is determined, make a list of possible images.
1
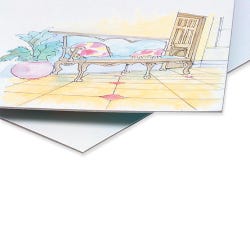
Students will be working on Crescent’s hot press 16" x 20" illustration board. As this project requires matches, two tiles are needed for each image. The traditional format is the square, but as an example, if your subject is snakes then perhaps a long skinny formatted rectangle would be more fitting for the subject. More normal options would be squares of 4" x 4" (as in the example) yielding 20 tiles for a total of ten pairs of matching tiles, or 2" x 2" yielding 40 tiles & 20 images. Choose an option and lay out the board in pencil, dividing the sides by 2- or 4-inch increments, and lightly draw guide lines to create the master grid. Each student can make their own project, or the class can select a theme and each student can be responsible for one or two images.
2
Use a piece of colored paper and apply a thin coat of water-soluble paste to which the paper will be applied. Smooth out any bubbles or wrinkles and allow to dry.
3
Once backing paper is applied, draw directly onto the board or transfer the sketch using tracing paper and graphite paper. Decide whether you want both matching tiles to be exact duplicates, different but obviously related images, or mirrored images of each other. Once the key image is on the board, finish with colored pencils and markers.
4
For the matching images, students can repeat as above or electronically copy with scanner or phone, then print on matte finish inkjet paper. This will require some editing to make sure the size is correct to the tile dimensions, but also provides the opportunity to mirror the image horizontally for a different effect. If this method is chosen, trim the printed image down to proper size and use paste to glue to board.
5
Once all tiles are complete, carefully use a straight edge and utility knife to cut into the individual tiles.
6
Play the game with your classmates and put your memory to the test!