Homage To The Square

Description
Lesson Plan and Artwork by Eric Orr
In the late 1950's and early 1960's, paintings by Josef Albers (1888-1976) ushered in two new artistic styles: op art and minimalism. Albers' series of hard edge abstract paintings titled "Homage to the Square" joined art with science as he investigated color relationships in his quest to "make colors do something they don't do themselves". His paintings use simple geometric shapes and various flat color planes, allowing colors to optically move towards and away from the viewer.
Objectives
- Students will learn how to use the screen printing process.
- Students will plan their print, investigating how colors advance or recede optically, as well as how neighboring colors affect one another.
- Students will conduct a class critique of their prints and assess the impact of color relationships.
Supplies Needed
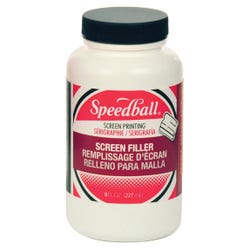
Speedball® Screen Filler, Quart 407875
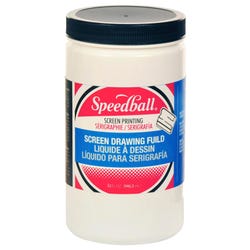
Speedball® Drawing Fluid, Quart 407347
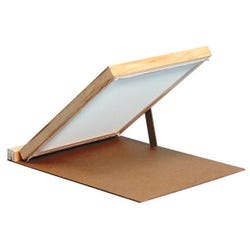
Speedball® Complete Silkscreen Unit 230286
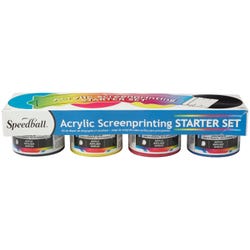
Fluorescent Hot Pink, 8 oz. 1483702
Fluorescent Lime Green, 8 oz. 1483703
Fluorescent Orange, 8 oz. 1483704
Fluorescent Magenta, 8 oz. 1483705
Fluorescent Yellow, 8 oz. 1483706
Fluorescent Blue, 8 oz. 1483707
Speedball® Iridescent Ink, 8 oz. Jars, 8 Color Set 407103
Speedball® Transparent Extender, 8 oz. 1299496
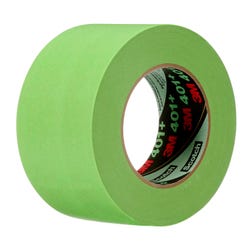
A.W.T Polyethylene Screen Tape, 3" x 36' Roll 410978
Gummed Kraft Paper Tape, 2 3/4" x 375' Roll 1473207
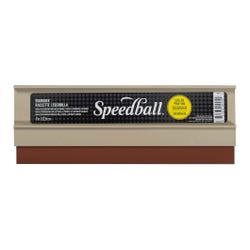
Speedball® 9" Red Baron Squeegee 409231
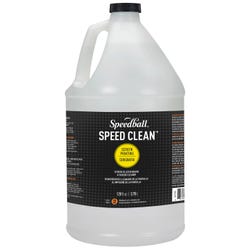
Speedball® Speed Clean Screen Cleaner, 32 oz. 409309
A.W.T Fabric Cleaning Brush 410982
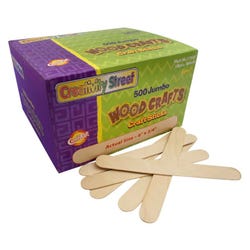
School Smart® Jumbo Craft Sticks, Pack of 500 085961
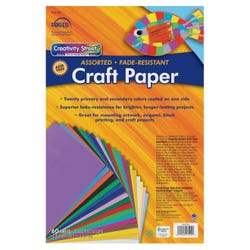
Fadeless® Art Paper, Assorted Colors, 12" x 18", Pack of 60 006093
Speedball® Printmaster Paper, 60 lb. 9" x 12", Pack of 100 381080
Subi Block Print Paper, Assorted Colors, 9" x 12", Pack of 40 406610
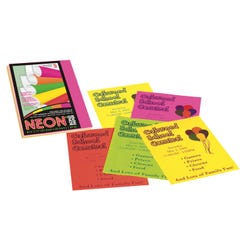
Array Neon Paper, 8 1/2" x 11", Pack of 500 310326
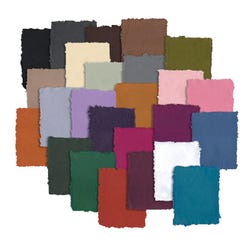
Shizen Pastel Paper, 8 1/2" x 11", Pack of 25 Colors 1437668
Shizen Pastel Paper, 8 1/2" x 11", 5 sheets each of 5 natural colors 1307342
Colorwave® Super Bright Tagboard, Assorted Colors, 9" x 12", Pack of 100 085514
*Here are the supplies needed for this lesson plan for reference. Find a convenient carousel of shoppable products for this lesson below.
Standards
Standard #1: Generate and conceptualize artistic ideas and work.
Standard #2: Organize and develop artistic ideas and work.
Standard #4: Select, analyze and interpret artistic work for presentation.
Standard #6: Convey meaning through the presentation of artistic work.
Standard#7: Perceive and analyze artistic work.
Standard #8: Interpret intent and meaning in artistic work.
Instructions
1
Show and discuss examples of modern screen prints such as Warhol and Albers.
2
Teacher will group students and set up a printing station.
3
Cover the entire wood frame of the screen with gummed paper tape, duct or screen tape. Mask the screen area with tape at least an inch on all four sides to enable a squeegee to pull ink across the screen.
4
Have students plan out their print progression... using simple geometric shapes and printing from large to small. Ink color and paper choices will determine the color dynamics.
5
Center the prepared screen over your largest drawn shape design. Trace the design lightly with a pencil onto the screen.
6
With screen elevated and horizontal, paint Drawing Fluid onto the screen on the areas you want to print.
7
Dry the screen with sunshine, blow dryer.
8
On the same side of the screen as the drawing fluid, drizzle a ribbon of Speedball Screen Filler onto the taped top border. Use a squeegee to evenly spread the screen filler over the screen. Multiple passes with the squeegee will make it more difficult to wash out. Allow filler to dry.
9
Spray cold water on both sides of the screen and gently wash out the drawing fluid. Dry screen in horizontal position.
10
Choose Speedball ink color as well as papers on which to print. For registration, position L shaped strips of masking tape to show where bottom edge of paper is to be placed on backboard. Note: always have clean hands before handling any paper. Place paper under screen and within registration tapes.
11
Close screen and apply Speedball Printing Ink in a ribbon across top of screen in taped area with a craft stick or spoon. Evenly pull ink across screenwith a squeegee. Lift screen and remove print to a drying rack. Repeat for additional prints.
12
Remove excess ink from screen with a scrap of mat board, and wash out ink from screen with water and a small sponge.
13
When finished with first screen, gently apply comet cleanser or granular dishwasher soap to both sides of wet screen to remove drawing fluid. Rub gently with a soft bristle brush. Rinse with hot water.
14
Dry screen and repeat stencil process for next (smaller) shapes.
15
Conduct a class critique of prints. Looking at prints with Sax 3-D glasses optimizes color movement even more!


