Close

Eric Carle Inspired Series: "Beautiful Butterfly"
Lesson Plan, Grades 1-8, Art, Language Arts, Science, Smart-Fab

Description
Eric Carle uses cut papers to create his own artwork illustrations within the pages of his books. This project gives children the ability to make their work fly from the page in this series of two projects based on this author/illustrator (please see also the lesson plan for Eric Carle-Inspired Series: Caterpillar Sculptures). These three-dimensional projects give a tangible sense to this timeless children's story.
Objectives
- Students will read and research the work of Eric Carle to observe the use of the colors with in his artwork and the concept in the story.
- Students will study images and learn about the habitats and behaviors of caterpillars/butterflies through teacher-guided activities in the CONTENT of science and nature.
- Students will study the patterns, designs and textures found in the layering of the caterpillar body and butterfly wings.
- Students will learn and experience the process layering and modeling of colors using Amaco® Cloud Clay® and Smart-fab®
Supplies Needed
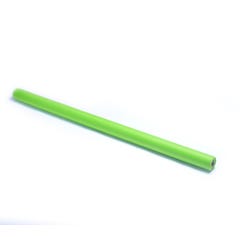
smart-fab® Fabric Rolls, 48" x 40' - Apple Green 1394901
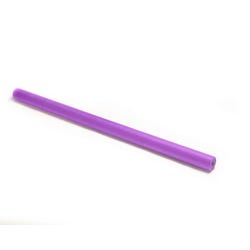
smart-fab® Fabric Rolls, 48" x 40' - Dark Purple 1394899
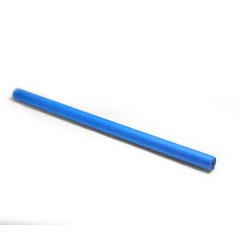
smart-fab® Fabric Rolls, 48" x 40' - Blue 1394897
smart-fab® Fabric Rolls, 48" x 40' - Orange 1394903
smart-fab® Fabric Rolls, 48" x 40' - Dark Pink 1394904
smart-fab® Fabric Rolls, 48" x 40' - Grass Green 1394900
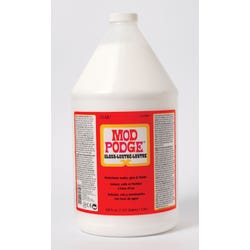
Mod Podge®, Gloss, Gallon 408589
Amaco® Cloud Clay® Assorted Colors Classroom Pack, 6 lbs. (2 1361983
Chenille Stems - Assorted Colors, 12", Pack of 100 085819
Amaco® Rice Paste, 3lb. 1451287 Scho 1402968
School Smart® Diamond Dust Glitter, 1 lb. 1451287
Additional Materials:
Plastic wrap
Heavy weight paper towel or wrapping paper tube
Masking tape
Newspaper
Empty water bottle (12 oz.) cut in half lengthwise - to use under wings for support in mounting (if desired)
White glue, Hot glue or Industrial
Glue
Scissors
Standards
CONTENT Standard #1: Understanding and applying media, techniques and processes.
CONTENT Standard #2: Using knowledge of structures and functions.
CONTENT Standard #6: Making connections between visual art and other disciplines.
Instructions
1
Cut paper tubing into a 5" segment.
2
Create a 2" ball of newspaper to act as the head of the butterfly and masking tape it to the top of the tube.
3
Form newspaper into a solid conical shape about an inch long and tape it to the bottom of the tube.
4
Using a thin slab of Amaco® Cloud Clay® cover the body of the butterfly working from front to back.
5
Using a pancake shape cover the head starting at where the face will be and work the clay towards the back so the face area will be smooth.
6
Using Amaco® Cloud Clay® create eyes and mouth, add accents of color to body and add chenille stems for antennae.
7
Set aside to dry.
8
The wings will need a day or so to dry so you will want to create them on a surface that can be relocated. I recommend tag board or just large heavy weight drawing paper (they will be relatively light).
9
Cover that surface with plastic wrap, horizontally with two sheets. Let the sheets overlap a few inches and secure those with a little tape.
10
Having observed the images and colors in Eric Carle's work, the students can now cut shapes of Smart-fab® to layer for the wings. Vary the sizes and shapes that are cut. Be sure you have TWO of each shape that is created so that the wings can mirror each other. Lay out a design directly on the plastic wrap leaving a small space between the wings.
11
When you achieve a design you are happy with, set the pieces of one of the wings aside, leaving the other in place as a reference.
12
On the now cleared side of the plastic wrap, coat the surface of the plastic wrap with an even layer of Mod Podge® (you can mix glitter into the Mod Podge® for a sparkle effect if desired).
13
Apply the first layer of Smart-fab® shapes coating the top of each with Mod Podge®.
14
Continue to layer the shapes repeating the application of Mod Podge® over all of them making sure that when you are finished the whole thing is coated with the Mod Podge®.
15
Repeat process with second wing.
16
When wings are dry, gently peal them off of the plastic wrap and attach to the sides of the butterfly body. They can be attached with white glue but for a quicker and stronger bond they can be attached using hot glue or an industrial adhesive. Notes: To mount the butterfly pictured in this lesson plan. I cut a water bottle in half and used a light Velcro® to attach it to the back of each wing. The words from the book were printed on a plotter printer and the body of the butterfly was attached to the board using thin Velcro® as well. The finished product is very lightweight.