Embossed Collagraph

Description
A collagraph is a relief print of a collage. Picasso, Georges Braque and Moholoy-Nagy explored and expanded collagraphic techniques extensively in the 1930s. In a collagraph, the student artist employs various materials and "crossover" processes to layer a printing plate with shapes and found items, or with lines and textures built with 3-D modeling material. Alternatively, the student artist can print a collagraph on a painted sheet. In each case, the print "pulled" has an embossed appearance and dimensionality that varies with the media used.
Objectives
- Students will develop competence in innovative printmaking. Students will hone critical thinking skills by exploring, evaluating and synthesizing various media.
Supplies Needed
Jack Richeson® Baby Press 404471
Sizing Catcher Blanket, 12" x 26" x 1/16" 407838
Cushion Blanket, 12" x 26" x ¼" 407834
Pusher Blanket, 12" x 26" x 1/8" 407841
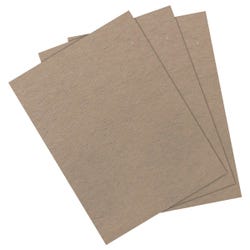
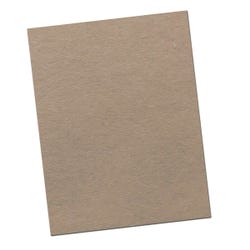
Newsboard, 24-pack, 9" x 12" 085564
Chipboard, 10-ply, 10-pack, 19" x 26" 456857
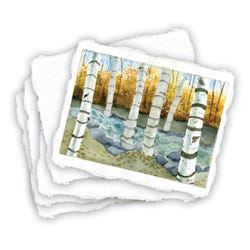
Punjab Watercolor Paper, 100 lb., 25-pack, 9" x 12" 1289220
Rives BFK Paper, 120 lb., 22" x 30" 238047
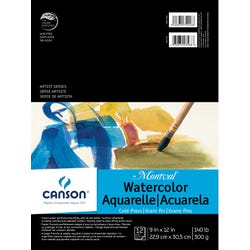
Canson-Montval® Watercolor Pad, 140 lb., 12 sheets, 9" x 12" 411415
School Smart® White Glue, 48-count case, 4 oz. bottles 1354285
Resources Singular Impressions: Art of Monotype, min. video 246208
Standards
CONTENT Standard #1: Understanding and applying media, techniques and processes
CONTENT Standard #2: Using knowledge of structures and functions
Instructions
Teacher preparation:
Gather collagraph resources to share with students.
1
Discuss the steps of the collagraphic process, including collage-making, material selection, printmaking terms and press usage.
2
At an art museum or library, research artists that used the collagraphic process.
3
Create the collage on a newsboard or chipboard base plate with imaging and/or 3-D modeling materials as desired:
4
Allow collage to dry completely.
5
Seal the collage with thinned Gesso.
6
Prepare the press, printmaking blankets, water tray and blotter sheets.
7
Select printmaking paper. Use 60 to 90 pound white drawing paper for shallow embossing, or 100 pound Punjab Watercolor Paper or 120 pound Rives BFK paper for deep embossing.
8
Soak paper in the water tray for five to 10 minutes to remove sizing and moisten it for embossing. Remove and blot with blotter or drawing paper.
9
Place collage plate on press bed and layer the paper, sizing catcher blanket, cushion blanket and pusher blanket over the plate.
10
Through trial and error, set the distance between the press roller and the plate. Start by closing the gap to just inside the pusher blanket.
11
Roll the press bed through the press in one direction, reversing direction and rolling again if desired.
12
Check the print and adjust pressure as necessary. Torn paper indicates excessive pressure; faint embossing indicates insufficient pressure.
13
Dry the print.
14
Curate print with a pencil. Write the artist's name and date at the lower right and the title and print number (i.e., 5/10 for the fifth print of 10) at the lower left.


